Welcome! We are so excited to get you started with using your new POS system! This article will include all of the necessary information needed to get your hardware set up and connected to your account.
Step 1: Download the POS app on your iPad
- Navigate to the App Store on your iPad.
- Click on the "Search" tab.
- At the top of the screen, click on the search bar and enter "Shoptiques POS".
- Download the app by clicking on the "Get" button.
- Once the download is complete, open the app.
- Enter your Organization Code and click the blue "OK" button. (The Organization Code should've been provided to you by your Shoptiques account manager.)
- Enter your four-digit pin. (If you forgot your pin, you can find it in the Employees tab on the Web app.)
Step 2: Set Up the Barcode Scanner
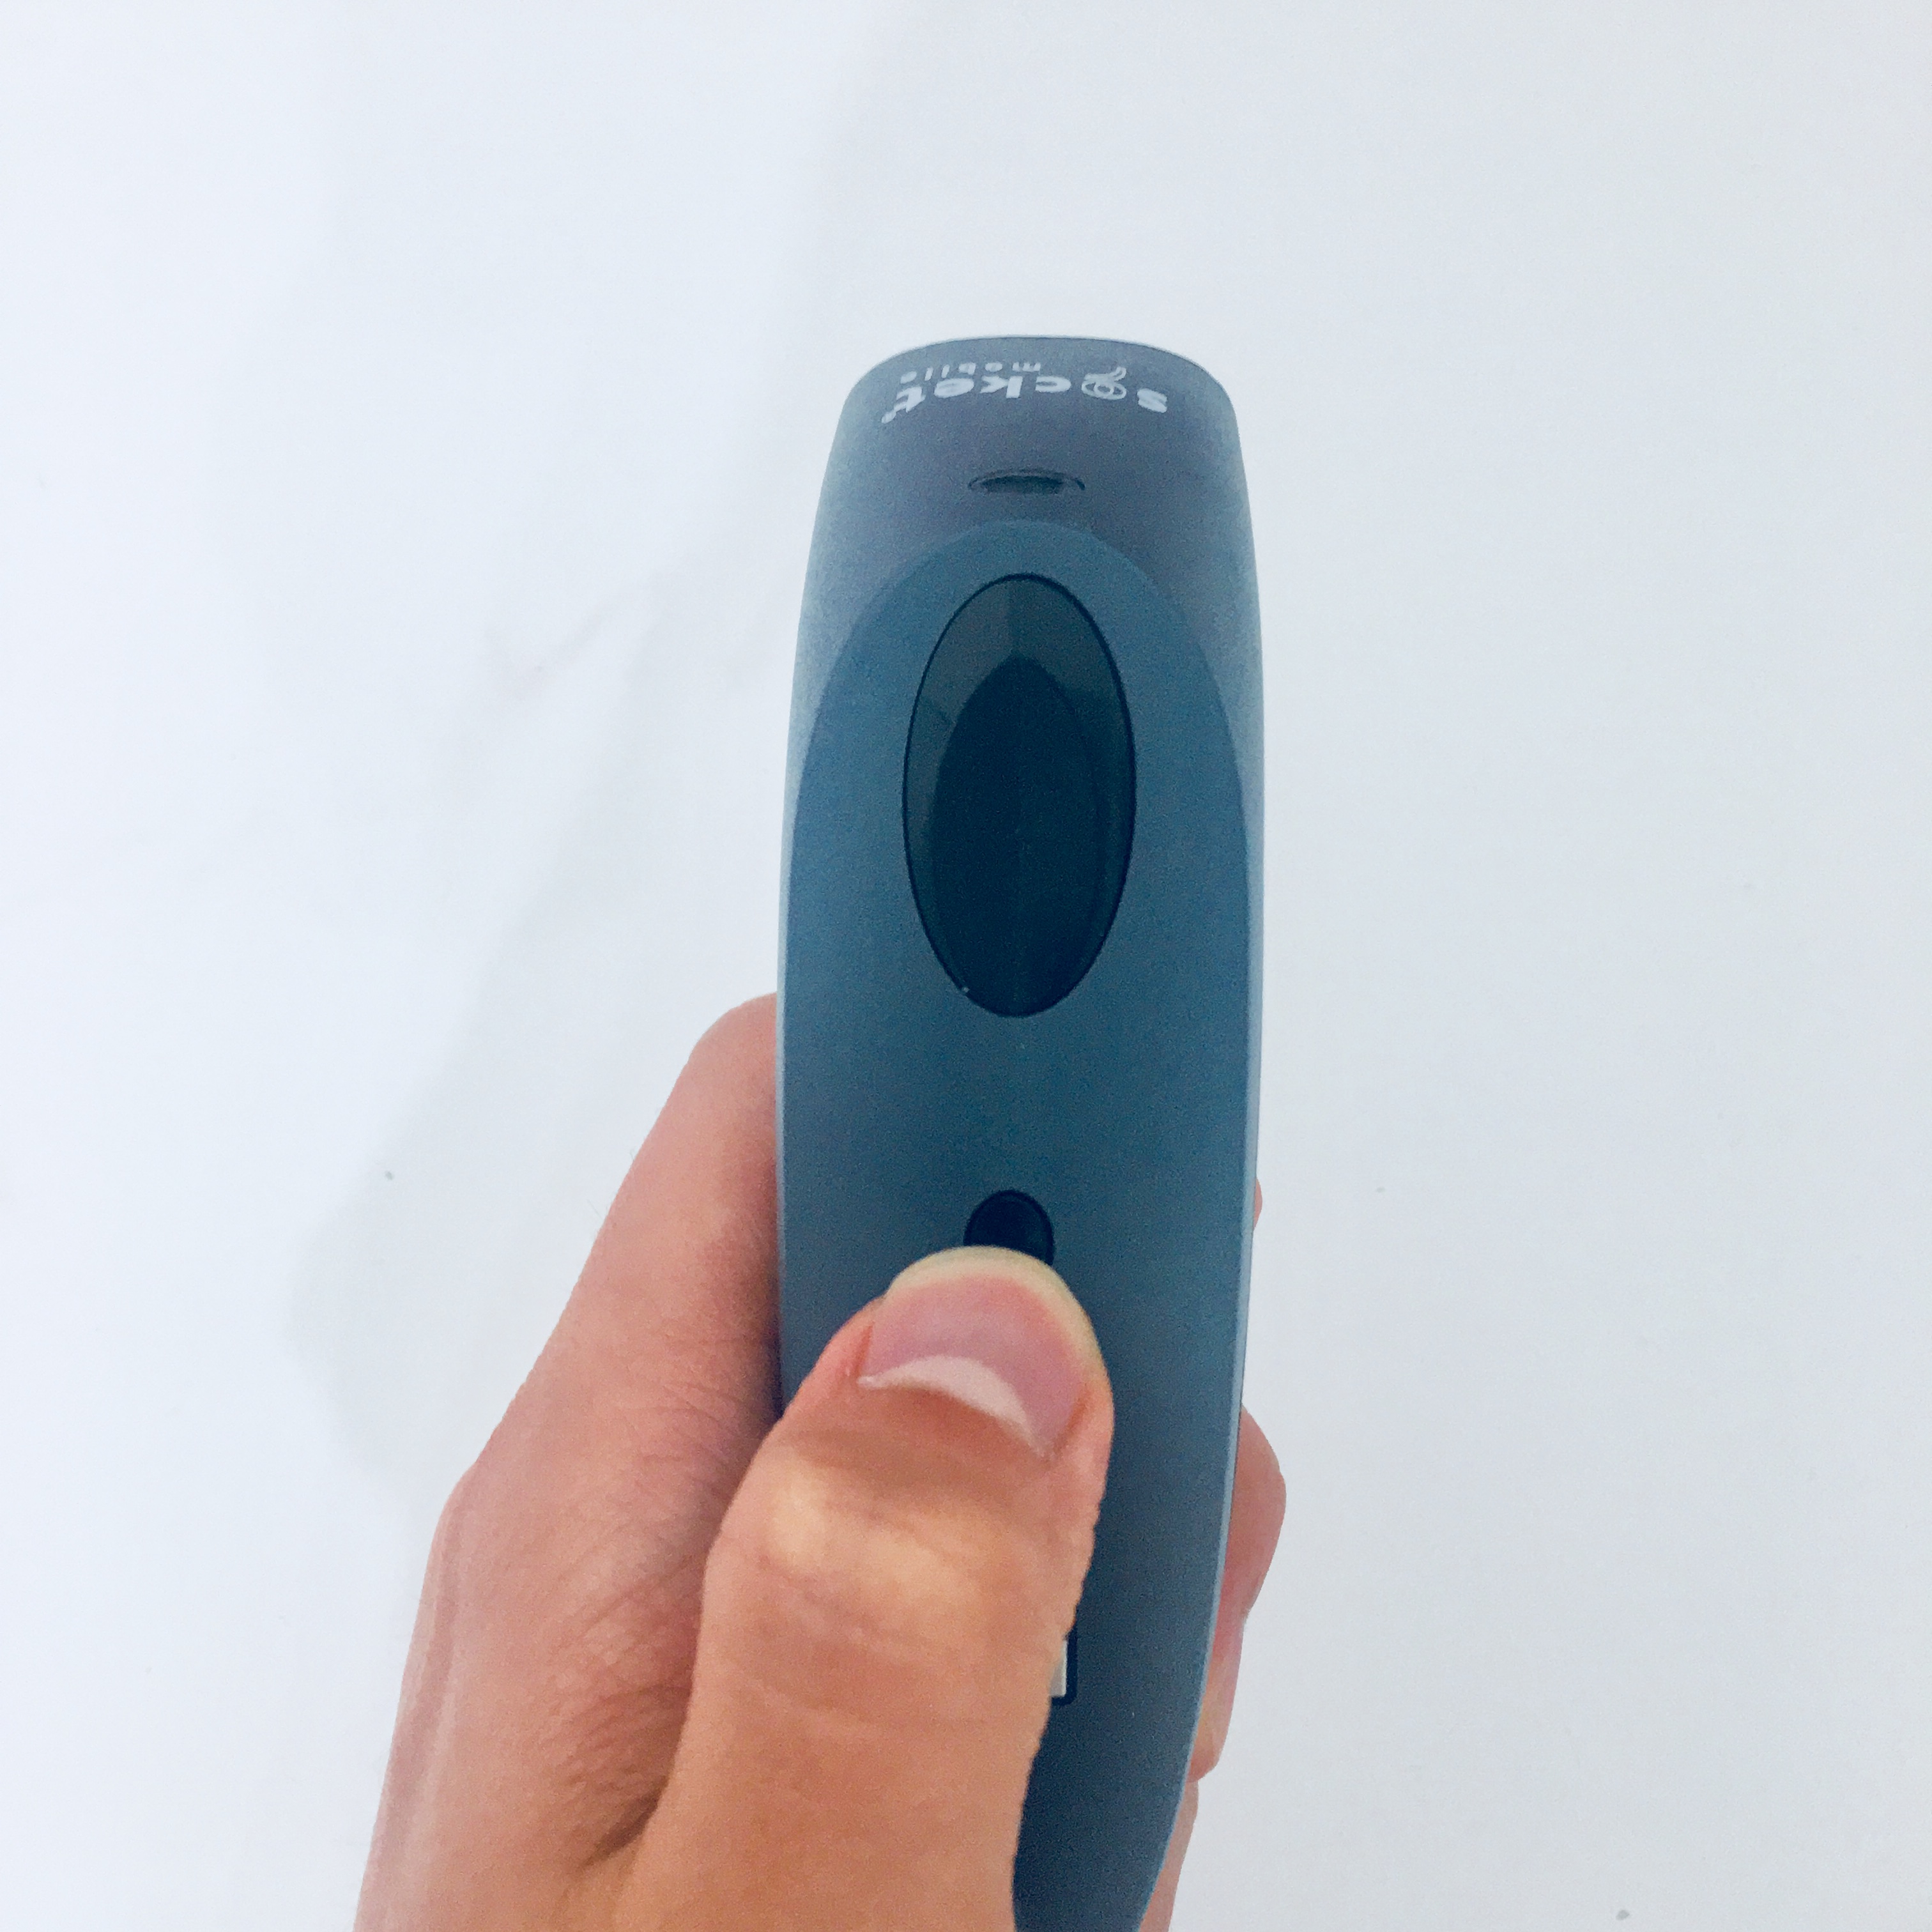
- Hold the small button until the LED light blinks in blue, and the scanner will beep twice.

- The scanner is now turned on. In order to connect it to an iPad, it has to be switched to iOS mode. To enable iOS mode, scan the barcode below. The scanner will beep when the mode-change is successful.

- Go to the setting page on your iPad and press Bluetooth to access the Bluetooth settings.


- Turn on the Bluetooth and look for the barcode scanner to connect to. The name of the scanner device is Socket CHS. Click on it, and your iPad should be connected to the scanner now.

Your scanner should be ready to go. To test whether it works correctly or not, open the Shoptiques POS on your iPad and scan a product barcode that is already in the database. Scanning the product should automatically add the product to the shopping cart or will get a popup message saying "Product not found" if the product is not found.
Step 3: Set Up the Receipt Printer
- Remove the two panels from the back and bottom of the receipt printer.
- Plug in the AC adapter into the power connector on the bottom of the receipt printer and then plug the other end into an outlet.
- Put the panels back onto the receipt printer.
- On the top of the printer, you'll see a gray lever on the lower right corner. Lift the lever upwards.
- Insert the receipt paper and then close the top.
- Press and hold the Feed button on the top right and press the power button. Do not release the Feed button until printing starts.
- In the POS app on your iPad, navigate to the Settings tab and then click on the Printer tab under the Settings options. You should see a field called "Device Address".
- On the printed receipt paper, locate where it says "BD_ADDR" under Bluetooth. Enter the value associated with it into the "Device Address" field. (Make sure to include the colons).
- Click the green "Save Changes" button.
- Click on the General tab under the Settings options.
- Find the "Receipts" section. Here, you will be able to add your boutique logo and special text on your receipts. (This is optional)
Step 4: Set Up the Cash Drawer (If Needed)
- Remove the two panels from the back and bottom of your receipt printer.
- Plug in the RJ12 connector cable (looks like a phone cable) into the receipt printer.
- Plug in the other end into the bottom of the cash drawer.
Step 5: Set Up the Cayan Machine
- To set up your hardware, please follow these steps:
- Once you have completed the setup from the previous step, press "000" on the Cayan device.
- Enter "9416557" and press enter.
- Write down the "IP Address" shown on the screen.
- Open the POS app on your iPad.
- Click the "Settings" tab, then "Cayan Integrated".
- In the "Device Address" field, enter the IP Address you wrote down before.
- Fill out the fields for "Merchant Name", "Site ID", and "Merchant Key". They should've been provided to you by your Shoptiques account manager.
- Click the green "Save Changes" button.
Step 6: Set Up Custom Payment Options
- On the POS app on your iPad, navigate to the Settings tab and and then click on the Custom Payments tab under the Settings options.
- You will see a list of pre-set payment types. Choose which ones you will accept as payment methods.
- You can also create your own by clicking the "+" button on the top right.
Comments
0 comments
Please sign in to leave a comment.